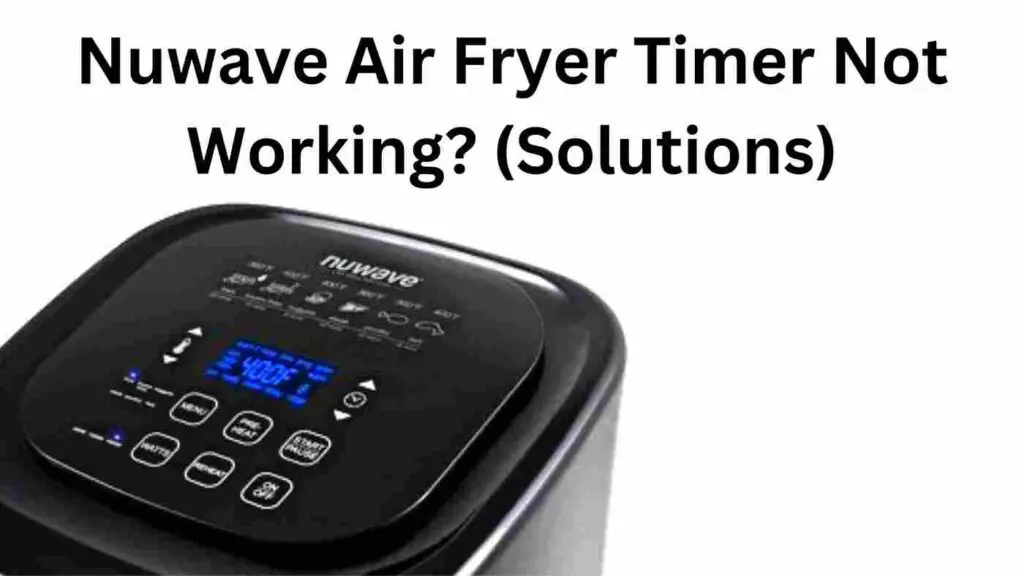
Users have to set function, timer, and temperature to cook any item in their Nuwave Air Fryer.
Sometimes malfunctioning occurred in the main unit causing problems during the setting of smart functions and while cooking. Any issue comes in the appliance due to mainly two reasons – hardware failure and Software glitch.
If your Nuwave Air Fryer timer is not working or is stuck, it means its software might be interrupted. Reset the unit to solve the software glitch. However, if the problem remains in the unit, you might have to replace the printed control board.
In this guide, we’ve described important information regarding not working Nuwave Air Fryer timers, that would help you to fix the issue.

Table of Contents
Why is the Nuwave Air Fryer Timer Not Working?
Setting the cooking timer through the Nuwave Air Fryer timer is necessary to proceed with the appliance further for cooking. However, timer problems can occur in the middle of the function and sometimes during the start.
Mostly the timer gets stuck and the countdown remains hanging on the display. If you got the same issue in your Nuwave Air Fryer, check the below described causes:
The Following are Probable Causes Why your Air Fryer Timer not Working:
- Your unit’s Software is interrupted (Software Glitch)
The countdown you see on the Nuwave Air Fryer’s LCD is represented by its software. If for some reason a software glitch happens, the timer will not work. The countdown can be stuck on the same number or the timer won’t respond at all.
However, as it is a software glitch it might only exist for a short time. It is a temporary fault in software processing. So, once the device is reset, the timer will start working again if the problem occurs due to a software glitch.
Every air fryer has software that is operated by its circuit board. Overuse can cause software failure as the device hardware gets heated for a long time.
- Fault in Printed Circuit Board
The printed circuit board is the central electrical component of an air fryer. It operates all the output devices and takes commands through input devices, such as buttons and Touchscreen.
The software of your device runs by PCB. in case the Printed circuit board is faulty, this will continuously cause software problems.
Overheating and electric shorts can damage this central element. The PCB is located on the top of Nuwave Air Fryers under the top cover. If a software glitch happens in each use, consider replacing its PCB.
How to Fix Not Working Timer on Nuwave Air Fryer?
The first thing you can do is to check what is the root cause of this problem in your air fryer. If it is a brand-new unit, must contact manufacturer support as the device is under warranty. Moreover, fixing a not working timer is easy if done correctly. How?:
Below are Steps to Fix Nuwave Air Fryer Timer that’s not Working:
- As this issue can happen due to software glitches, reset the device. Press the smart function button for 5 seconds which you have selected, and the unit will beep when reset. The second method to reset a Nuwave Air Fryer is to unplug the unit. Let the device rest for 2 minutes before plugging it back in.
- In case the timer is still not working, you have to replace its circuit board. You can call a professional technician for PCB replacement.
- If you want to replace it yourself, follow the next steps: Unplug the air fryer and take a screwdriver. Open the screws of the top cover of the unit and remove them. Now, open the screws of the main cover, and remove the entire cover.
- Now, you have access to its Printed circuit board. Disconnect all the wiring from the PCB, and remove the faulty circuit board. Get a new same printed circuit board according to model number.
- Connect the new one where the old PCB was connected. Connect all the wiring to PCB as it should be. Assemble the covers back to the main unit. Once everything is tight, test the unit.
How to Set a Timer on a Nuwave Air Fryer?
Nuwave Air Fryers are easy to use, you just need to know how to use them correctly. New users mostly need to understand how they can set the timer, temperature, and cooking function on their new Nuwave Air Fryer model.
However, there are a variety of air fryer models available by NuWave, but the method to set a timer is similar to them.
Here’s How to Set the Timer on Nuwave Air Fryer:
- Press the On/Off button Given on the control panel to turn on the device.
- Now, select the preheat button by pressing it.
- There is a Time/Temp Button, press it once, and the default temperature will show up.
- Now, press the Time/Temp Button again, this will show the default Cooking Time.
- Press the time-adjusting keys given on the side of the display to increase or decrease
the Cooking Time.
- Finally, the Device is ready to cook your Food.
Conclusion
Having an air fryer makes cooking easier and more enjoyable, but it is also necessary to have the right one. Whenever your Nuwave Air Fryer timer will not work, first reset the unit before contacting any technician.
If the reset fixed it, this happened due to software interrupting memory. In case the unit is often stuck on a timer and the countdown hangs or won’t start, you might need to replace the circuit board of your unit.

Pingback: How to Change Nuwave Air Fryer Celsius to Fahrenheit?